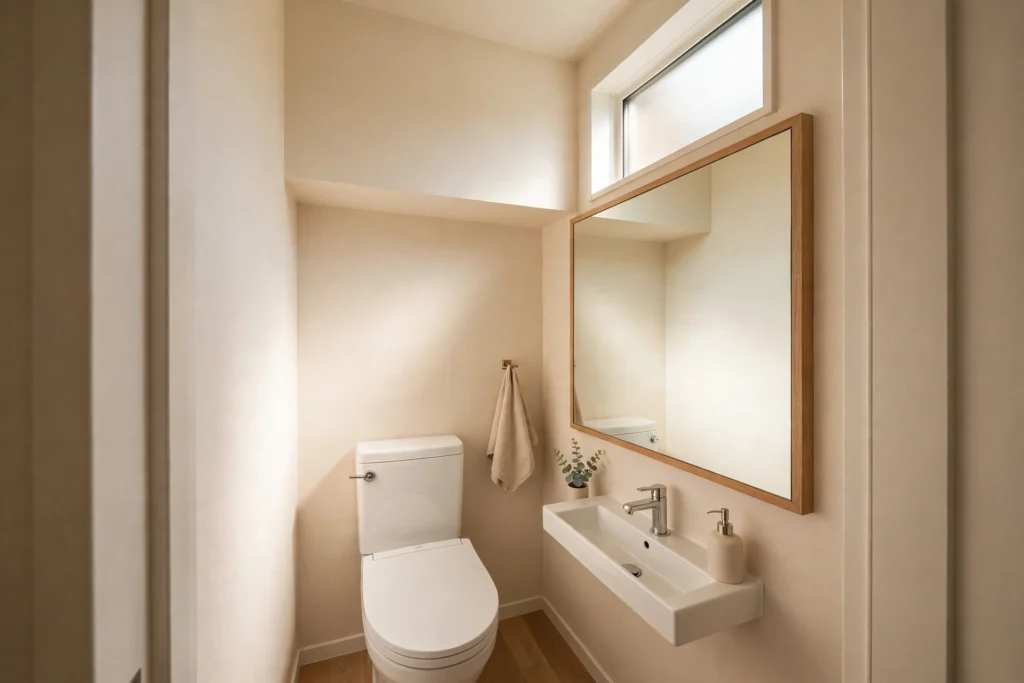
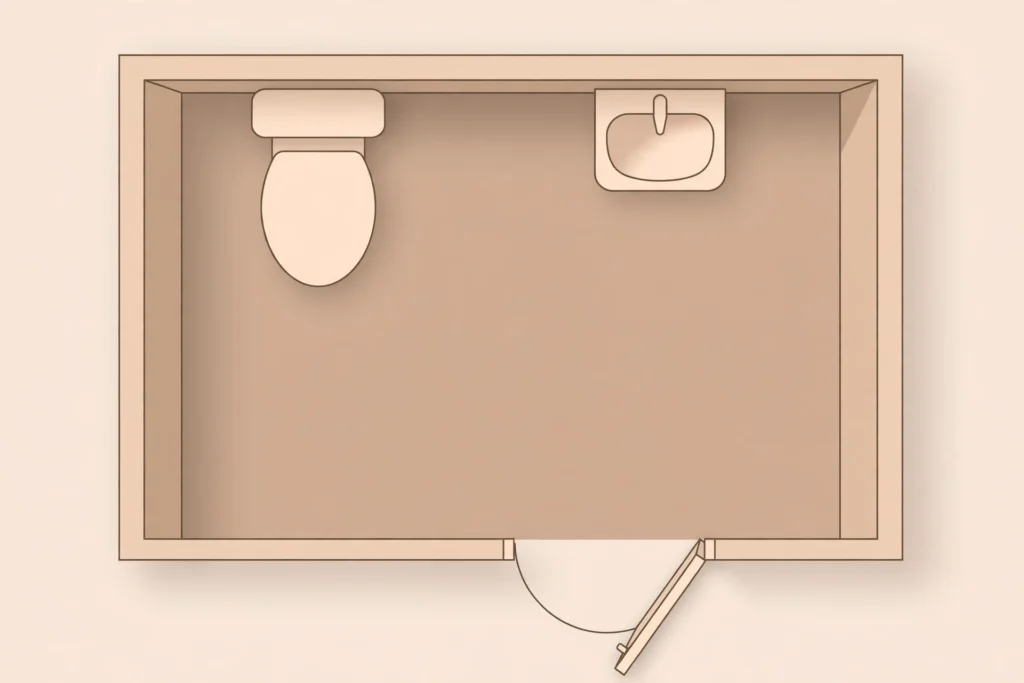
The smallest code compliant half bath is often about 3 feet by 5 feet, or 15 square feet, yet code sets no single room size. Instead, minimum half bathroom dimensions come from clearances around the toilet and sink. Plan for 15 inches from toilet centreline to each side and 21 inches clear in front.
That answer surprises many people. They expect one legal room size. In reality, code controls space around each fixture. A wall moved two inches can change a pass into a fail.
This guide covers planning and building only. It explains required clearances, ceiling height, door swing, and ventilation. Then it shows room sizes by layout, with a worked example you can copy.
Why Code Sets Clearances, Not One Room Size
First, know which code your area uses. Most US homes follow the International Residential Code, called the IRC. Some areas use the International Plumbing Code, called the IPC. A few follow the Uniform Plumbing Code, called the UPC.
Thankfully, the main fixture numbers agree in the IRC and IPC. You can read the International Residential Code fixture installation rules on the ICC site. The key rule sits in section P2705.1. Still, local rules win, so confirm them before you build.
Here is what the model codes control in a half bath:
- Distance from a fixture centreline to a side wall
- Distance between the centrelines of two fixtures
- Clear floor space in front of each fixture
- Minimum ceiling height over the room and fixtures
- Ventilation, by window or by mechanical fan
- Door and fixture placement that blocks normal use
Notice what is missing from that list. There is no set square footage for the room. Instead, you add fixture depths to required clearances. That sum gives the smallest room for your layout. Change the layout, and the smallest room changes too.
Minimum half bathroom dimensions for the toilet area
The toilet sets the tightest rules in the room. So start your plan with the toilet zone. If that zone fails, the whole room fails. Get it right first, then place the sink.
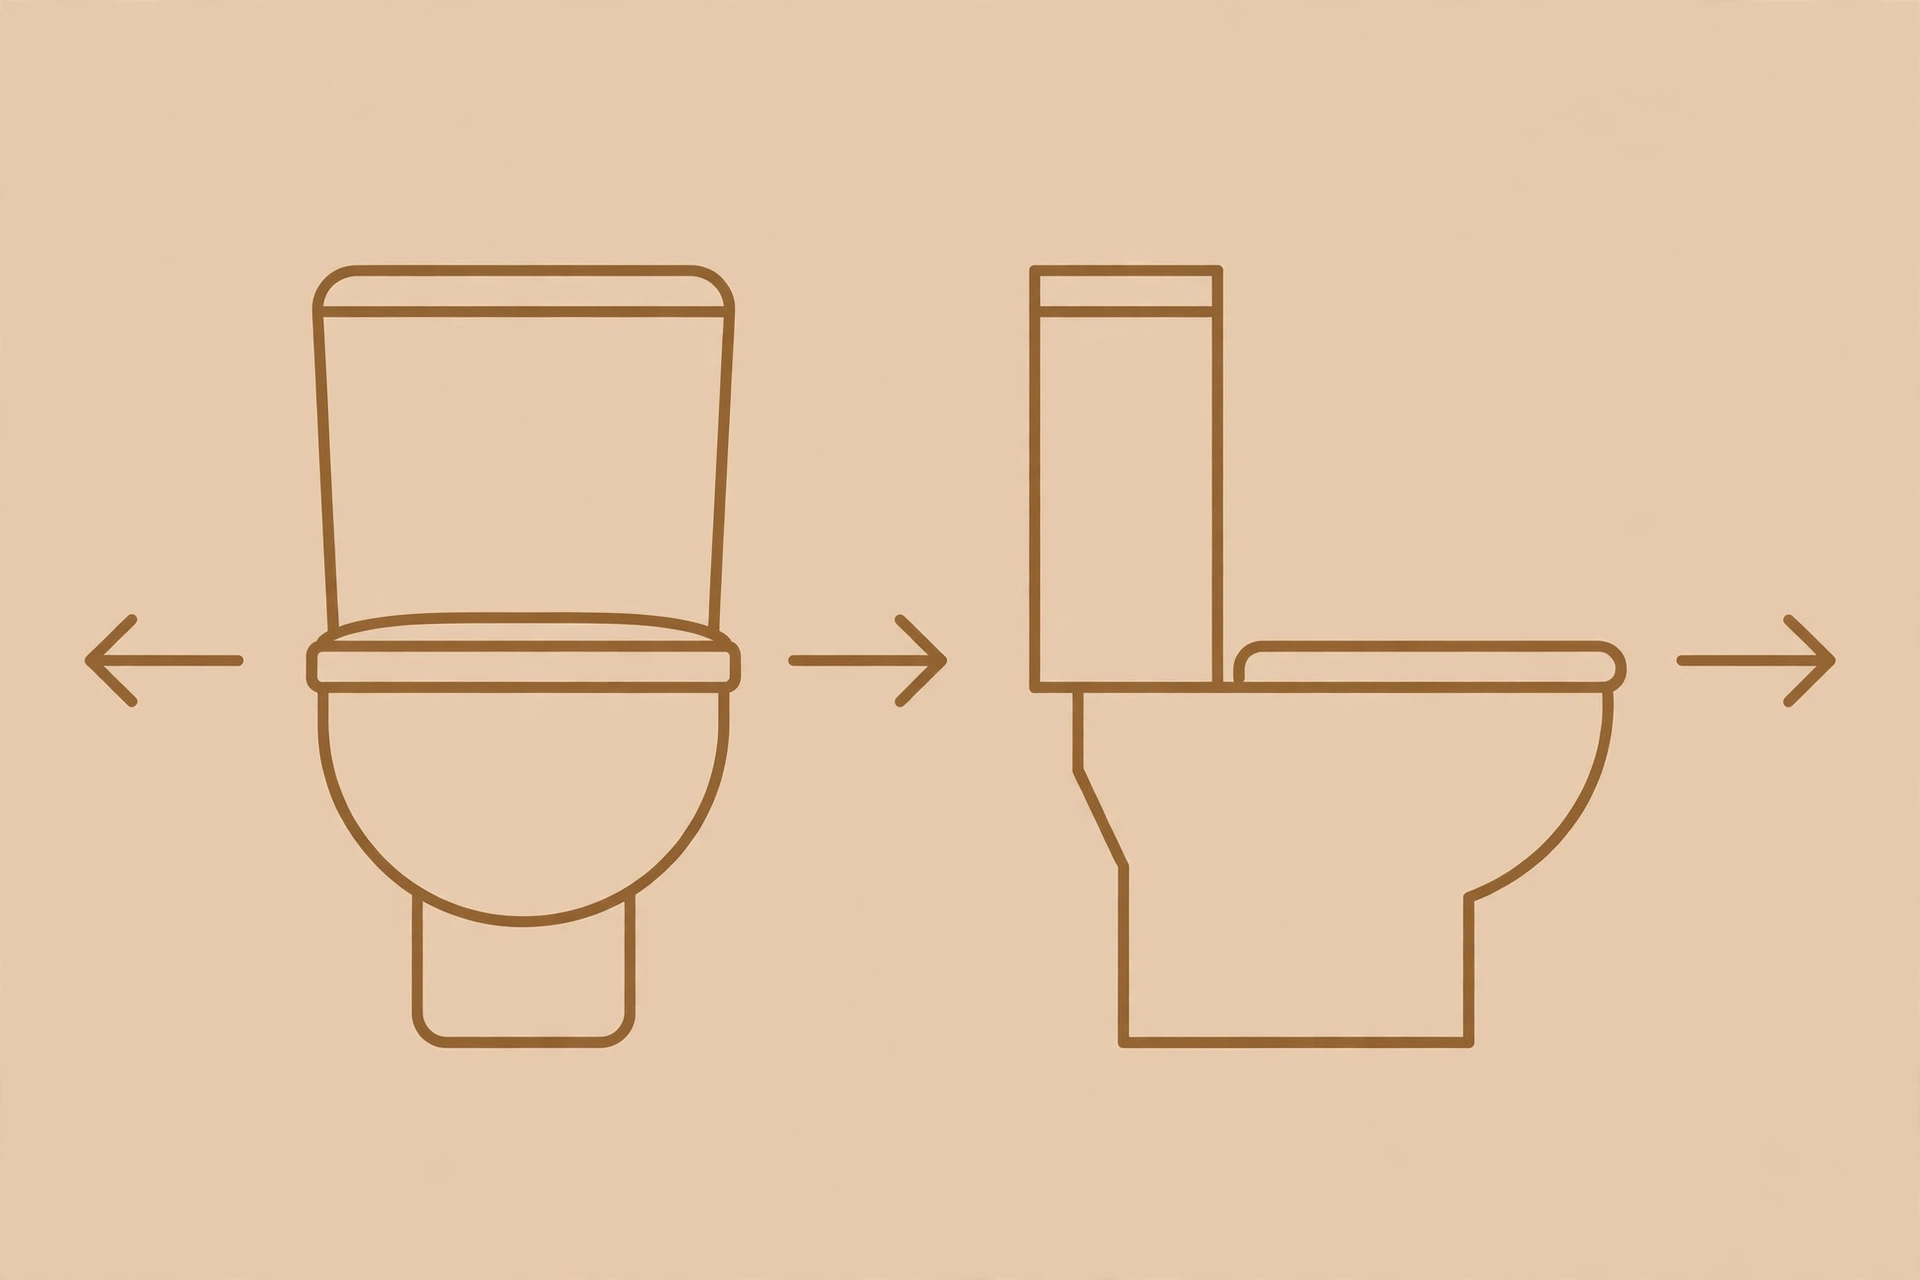
Centreline and side clearance for the toilet
The centreline is an imaginary line through the middle of the toilet. It lines up with the centre of the floor drain. Code says this line must sit at least 15 inches from any side wall. The same rule applies to a partition or vanity side.
So the toilet zone needs at least 30 inches of width. That is 15 inches left plus 15 inches right. Measure to the finished wall surface, not the bare studs. Drywall, tile, and trim all reduce your final space.
Next, look at fixtures placed side by side. The toilet centreline must sit at least 30 inches from the sink centreline. This rule stops two fixtures crowding one short wall. Both the IRC and IPC use this same figure.
For comfort, many designers aim wider. An 18 inch centreline per side gives a 36 inch zone. But 15 inches remains the legal floor.
Front clearance for the toilet
Code also protects the space in front of the bowl. You need at least 21 inches of clear space there. Measure from the front edge of the bowl. Measure to the nearest wall, fixture, or door.
The International Plumbing Code fixture setting rules state the same figure in section 405.3.1. However, UPC areas often require 24 inches in front instead. That three inch gap can change your whole layout. So never copy a plan from another state blindly.
Toilet depth affects this rule as well. A standard toilet projects roughly 27 to 30 inches from the wall. Add 21 inches of clear space in front. The zone then needs about 48 to 51 inches of depth.
One more measurement sits behind the toilet. The rough-in runs from the finished wall to the drain centre. The standard rough-in for most new toilets is 12 inches. Kohler and other makers also offer 10 inch and 14 inch models. Match the toilet to the rough-in you build.
Sink and Vanity Clearances
After the toilet, the sink brings its own rules. A sink is called a lavatory in code language. The same section covers both fixtures. So several numbers will sound familiar here.
First, the sink centreline needs 15 inches from a side wall. Second, the sink needs 21 inches clear in front. You measure from the front edge of the sink or vanity. In many layouts, that patch overlaps the toilet front clearance. Shared floor space is allowed when both clearances still measure correctly.
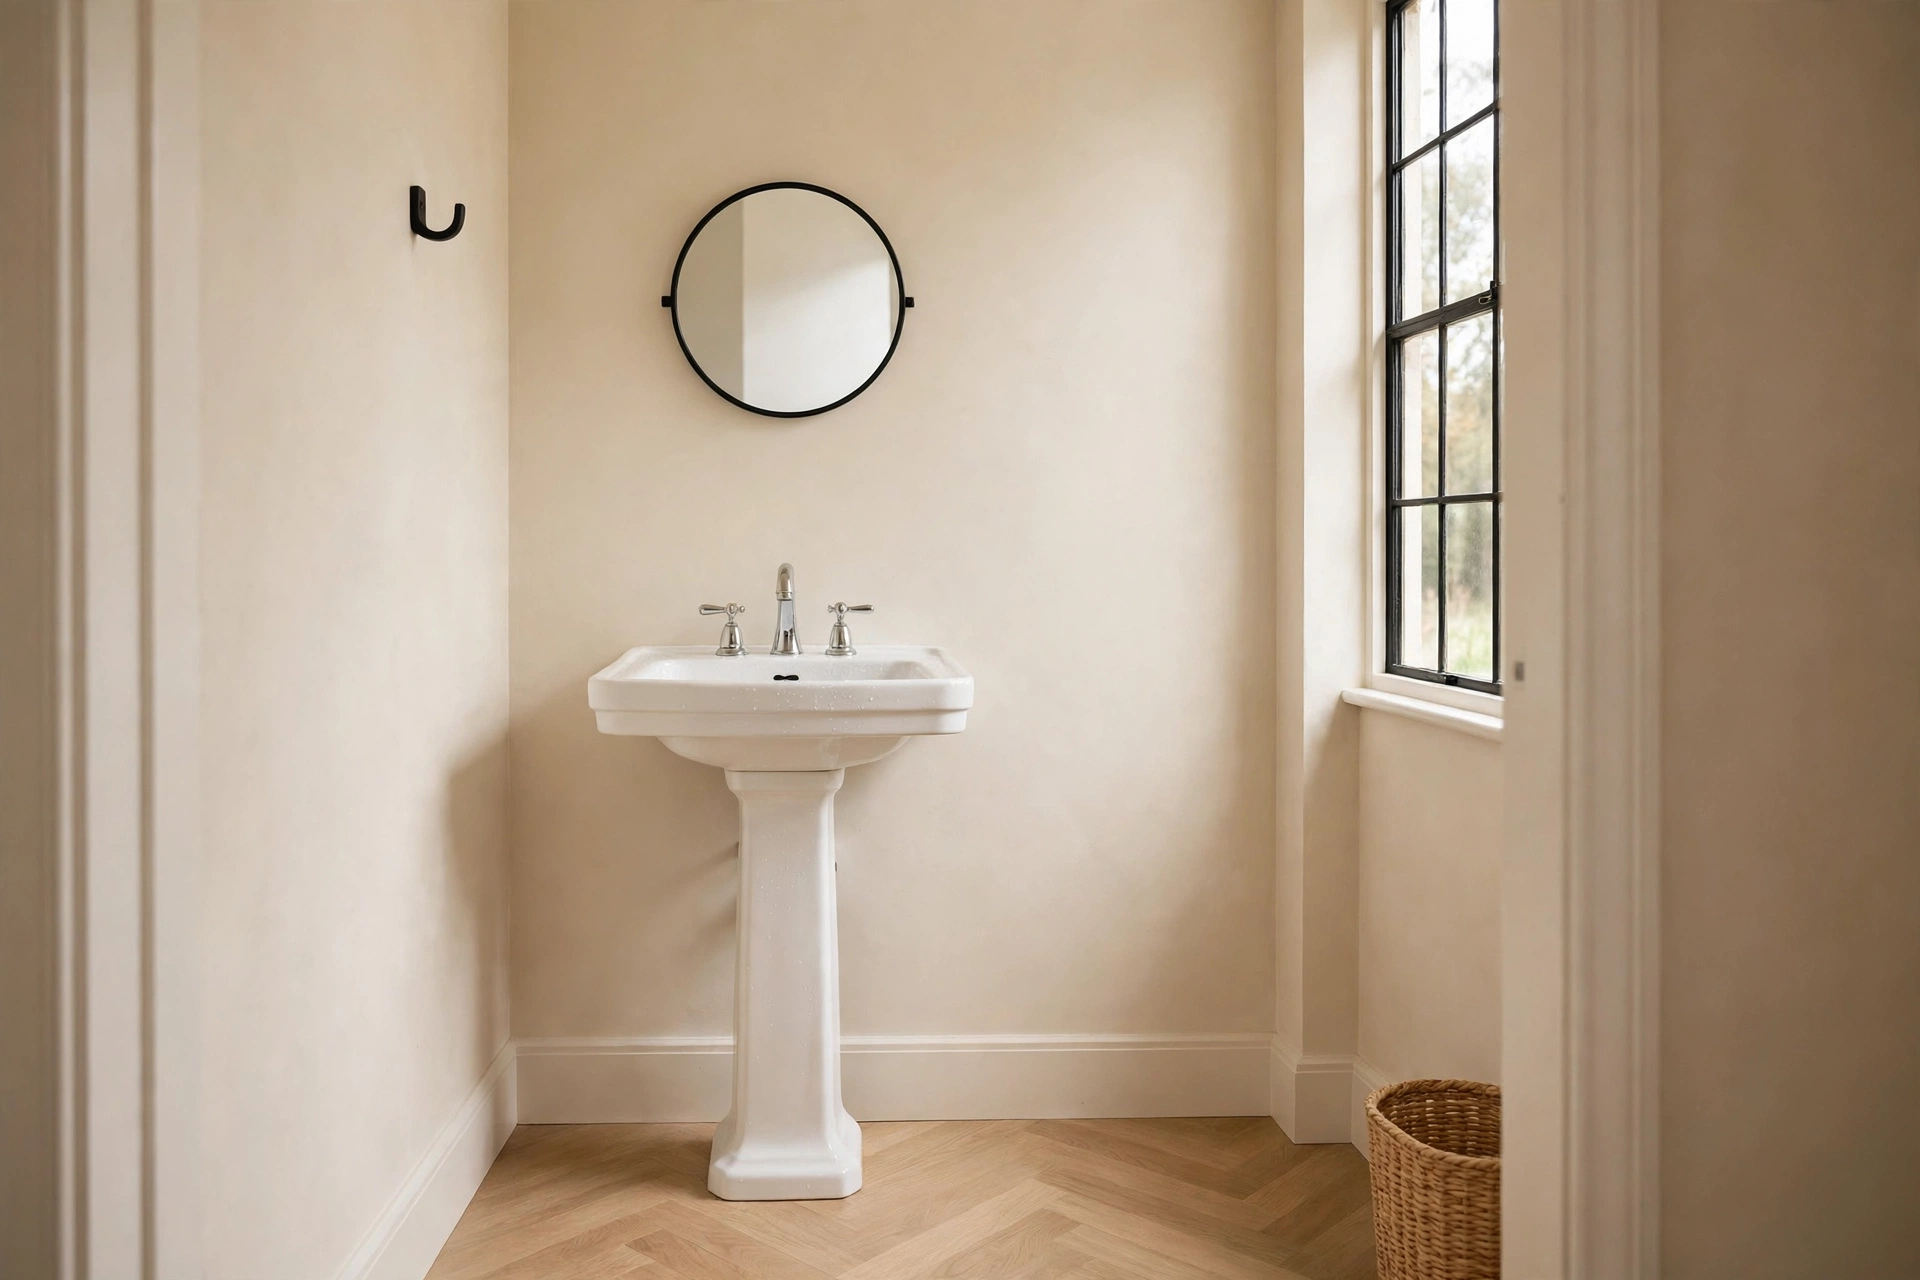
Vanity depth then shapes the rest of the plan. A standard vanity is often about 21 inches deep. A narrow vanity or pedestal sink projects less. Choosing a shallower sink can free several inches. That choice matters a lot in a minimum size room.
If you are updating an existing small bath, fixture choice comes first. Our guide to budget bathroom upgrades that look expensive can help with finishes later. For now, lock the sink depth and centreline. Those two numbers decide if the room passes.
The table below sums up the main minimum clearances in one place.
| Item | Minimum clearance | Why it matters |
|---|---|---|
| Toilet centreline to side wall | 15 inches each side | Gives elbow room and cleaning access |
| Toilet zone total width | 30 inches | Sets the narrowest legal toilet space |
| Toilet centre to sink centre | 30 inches | Stops fixtures crowding each other |
| Clear space in front of toilet | 21 inches, 24 under UPC | Lets a person sit and stand safely |
| Sink centreline to side wall | 15 inches | Keeps the basin usable at the edge |
| Clear space in front of sink | 21 inches | Gives standing room at the basin |
| Ceiling height in the room | 6 feet 8 inches | Meets the lower bathroom ceiling rule |
Keep this table open while you sketch. Every row must pass at the same time. Passing six rows and failing one still fails the room.
Ceiling Height, Ventilation, and Door Swing
Width and depth get most of the attention. Yet height, air, and the door can also fail a room. So check these three items before you frame walls.
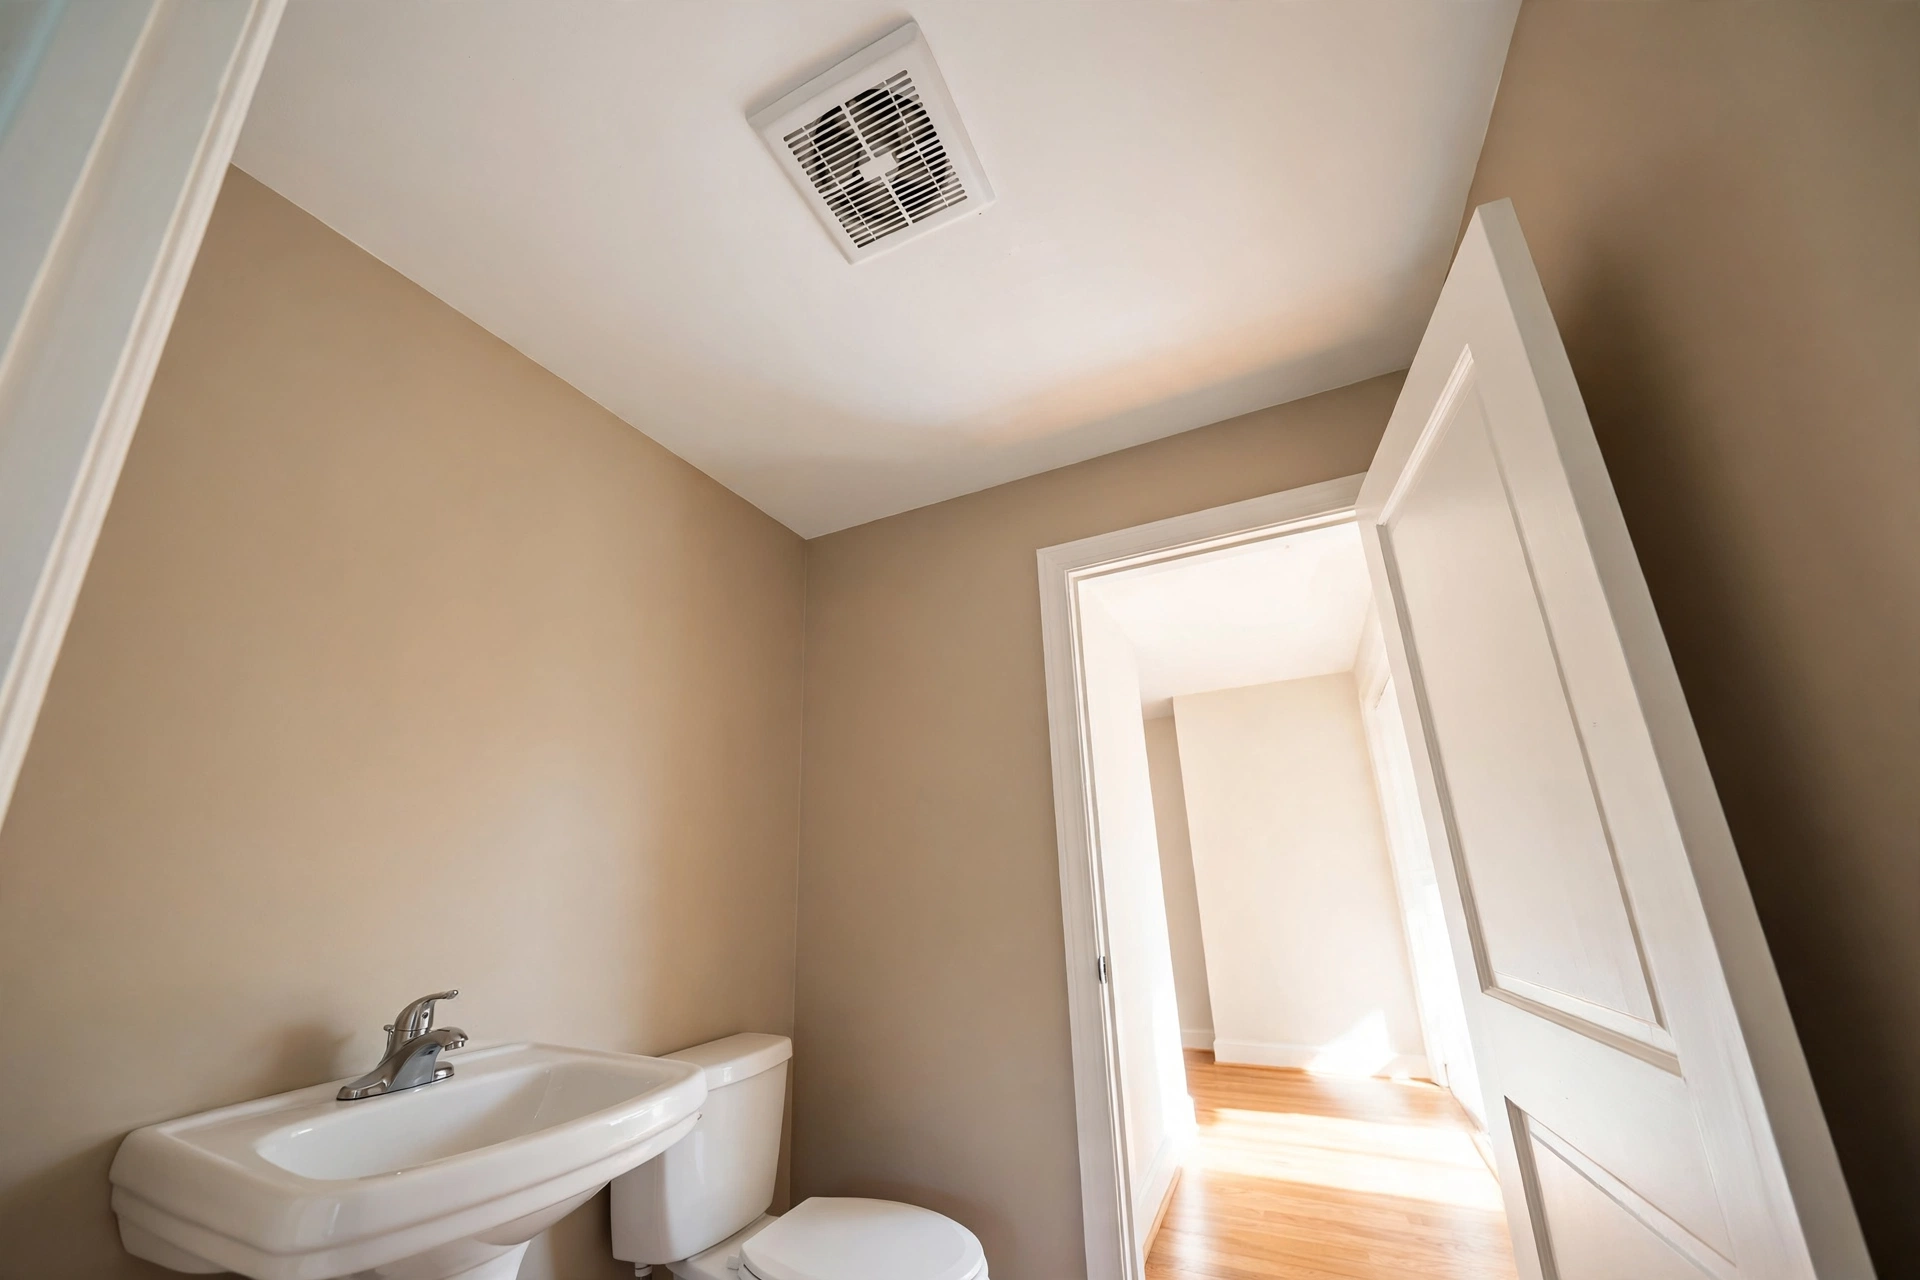
Minimum ceiling height
Bathrooms and toilet rooms get a lower ceiling rule than living spaces. Under the IRC, the minimum ceiling height is 6 feet 8 inches. Habitable rooms generally need 7 feet by contrast. You can find this rule in section R305.1.
The height runs from finished floor to finished ceiling. It must hold at the centre of the clear space before each fixture. So a sloped ceiling needs care here. Also, floor tile and ceiling boards eat into the gap. Add a small safety margin when you can.
Ventilation basics
A half bath still needs a way to clear stale air. The IRC gives two basic routes. One route uses a window in the room. The other uses a mechanical exhaust fan.
Under section R303.3, a ventilation window needs at least 3 square feet of glazing. At least half of that area must open. Without such a window, you need a fan. A fan must exhaust directly to the outside. The rated minimum is 50 cfm intermittent, or 20 cfm continuous.
Door swing rules
Now check the door, because it moves through your clear space. Code says fixture placement must not interfere with door operation. The 21 inch front clearance is also measured to a door. So a door that hits a fixture creates a problem.
In practice, the door must open without striking a fixture. It must not trap a person against one either. Many local rules bar a door swinging into required clear space. The closed door must still leave full clearance.
For a minimum room, an inward door rarely works well. Its arc eats a large share of the floor. An outward door removes that arc from the room. A pocket door removes the swing completely. Either choice can make a tight layout pass.
Minimum Sizes by Layout
So how do clearances turn into real room sizes? The answer depends on where the fixtures sit. Two layouts can use the same clearances yet need different rooms.
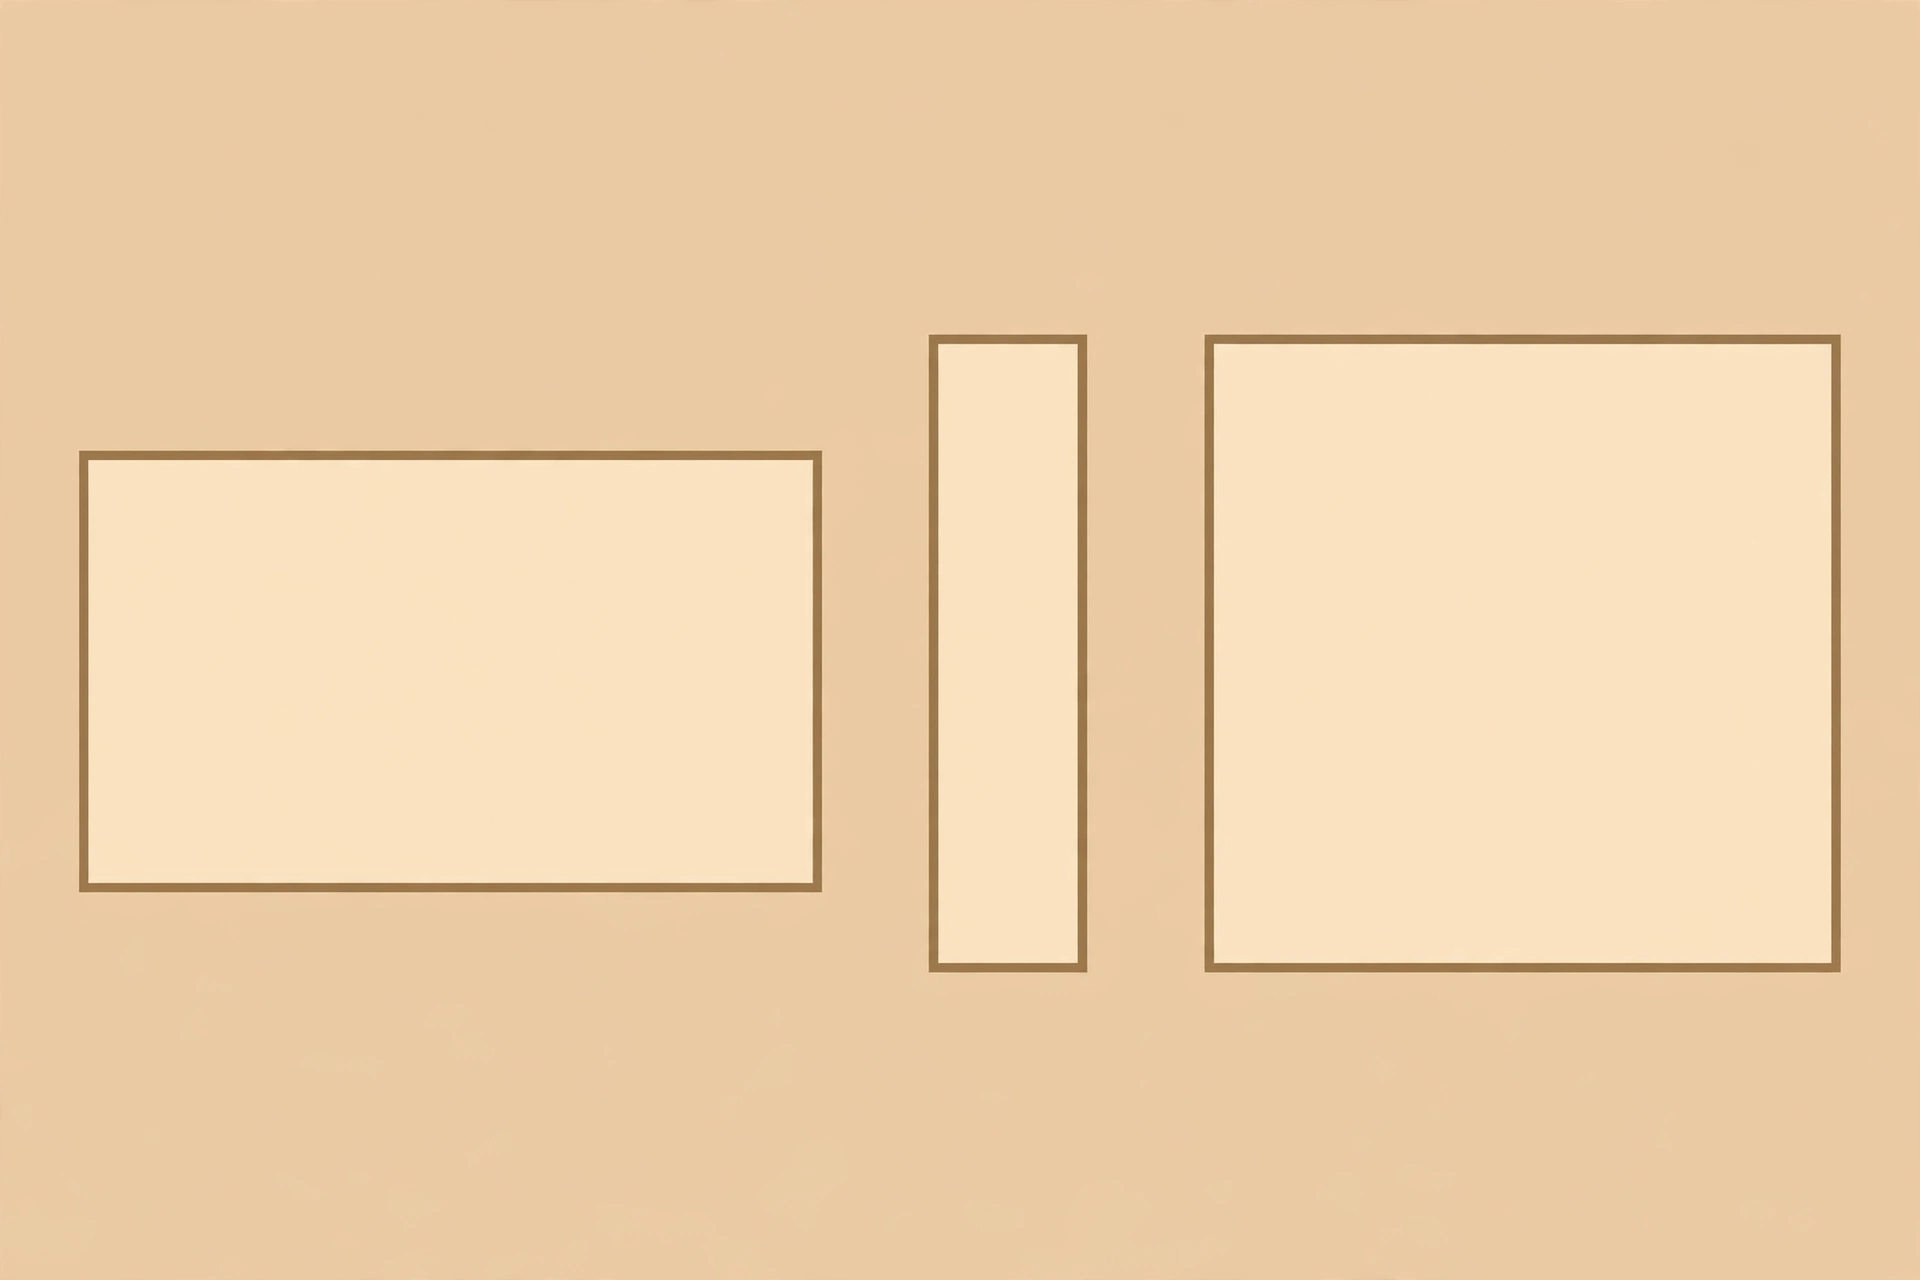
In the first approach, both fixtures sit on one wall, side by side. That wall needs 60 inches at minimum centreline spacing. The room depth then equals toilet depth plus front clearance. This is the simplest layout to check.
In the second approach, the toilet sits on a short end wall. The sink sits on a side wall near the entry. This narrow plan can work at about 36 inches wide. But it needs a compact sink and no inward door swing.
Small homes often force this kind of tight planning. If that is your case, our roundup of small apartment ideas that double your space may help with the wider home. For this room, though, stay with the tape measure.
A square layout gives a third approach. Fixtures sit on two adjoining walls. The room feels less like a corridor. However, door position gets harder, as corners can clash with clearances.
The table below compares the example minimum layouts from this section.
| Layout | Example minimum size | Floor area | Main condition |
|---|---|---|---|
| Fixtures side by side on one wall | 60 by 48 inches | 20 square feet | Needs a 60 inch fixture wall |
| Toilet on end wall, sink on side wall | 36 by 60 inches | 15 square feet | Needs compact sink, no inward door swing |
| Fixtures on adjoining walls, near square | 54 by 54 inches | About 20 square feet | Door position needs careful checking |
Read these sizes as starting points, not promises. A deeper toilet or a 24 inch UPC clearance adds inches fast. Always rebuild the size from your own fixture depths.
Worked Example: Tape Out a 5 by 4 Foot Half Bath
Here is a full minimum layout you can copy step by step. The room measures 60 inches wide and 48 inches deep. Both fixtures sit on the 60 inch back wall. The door swings outward, so no arc enters the room.
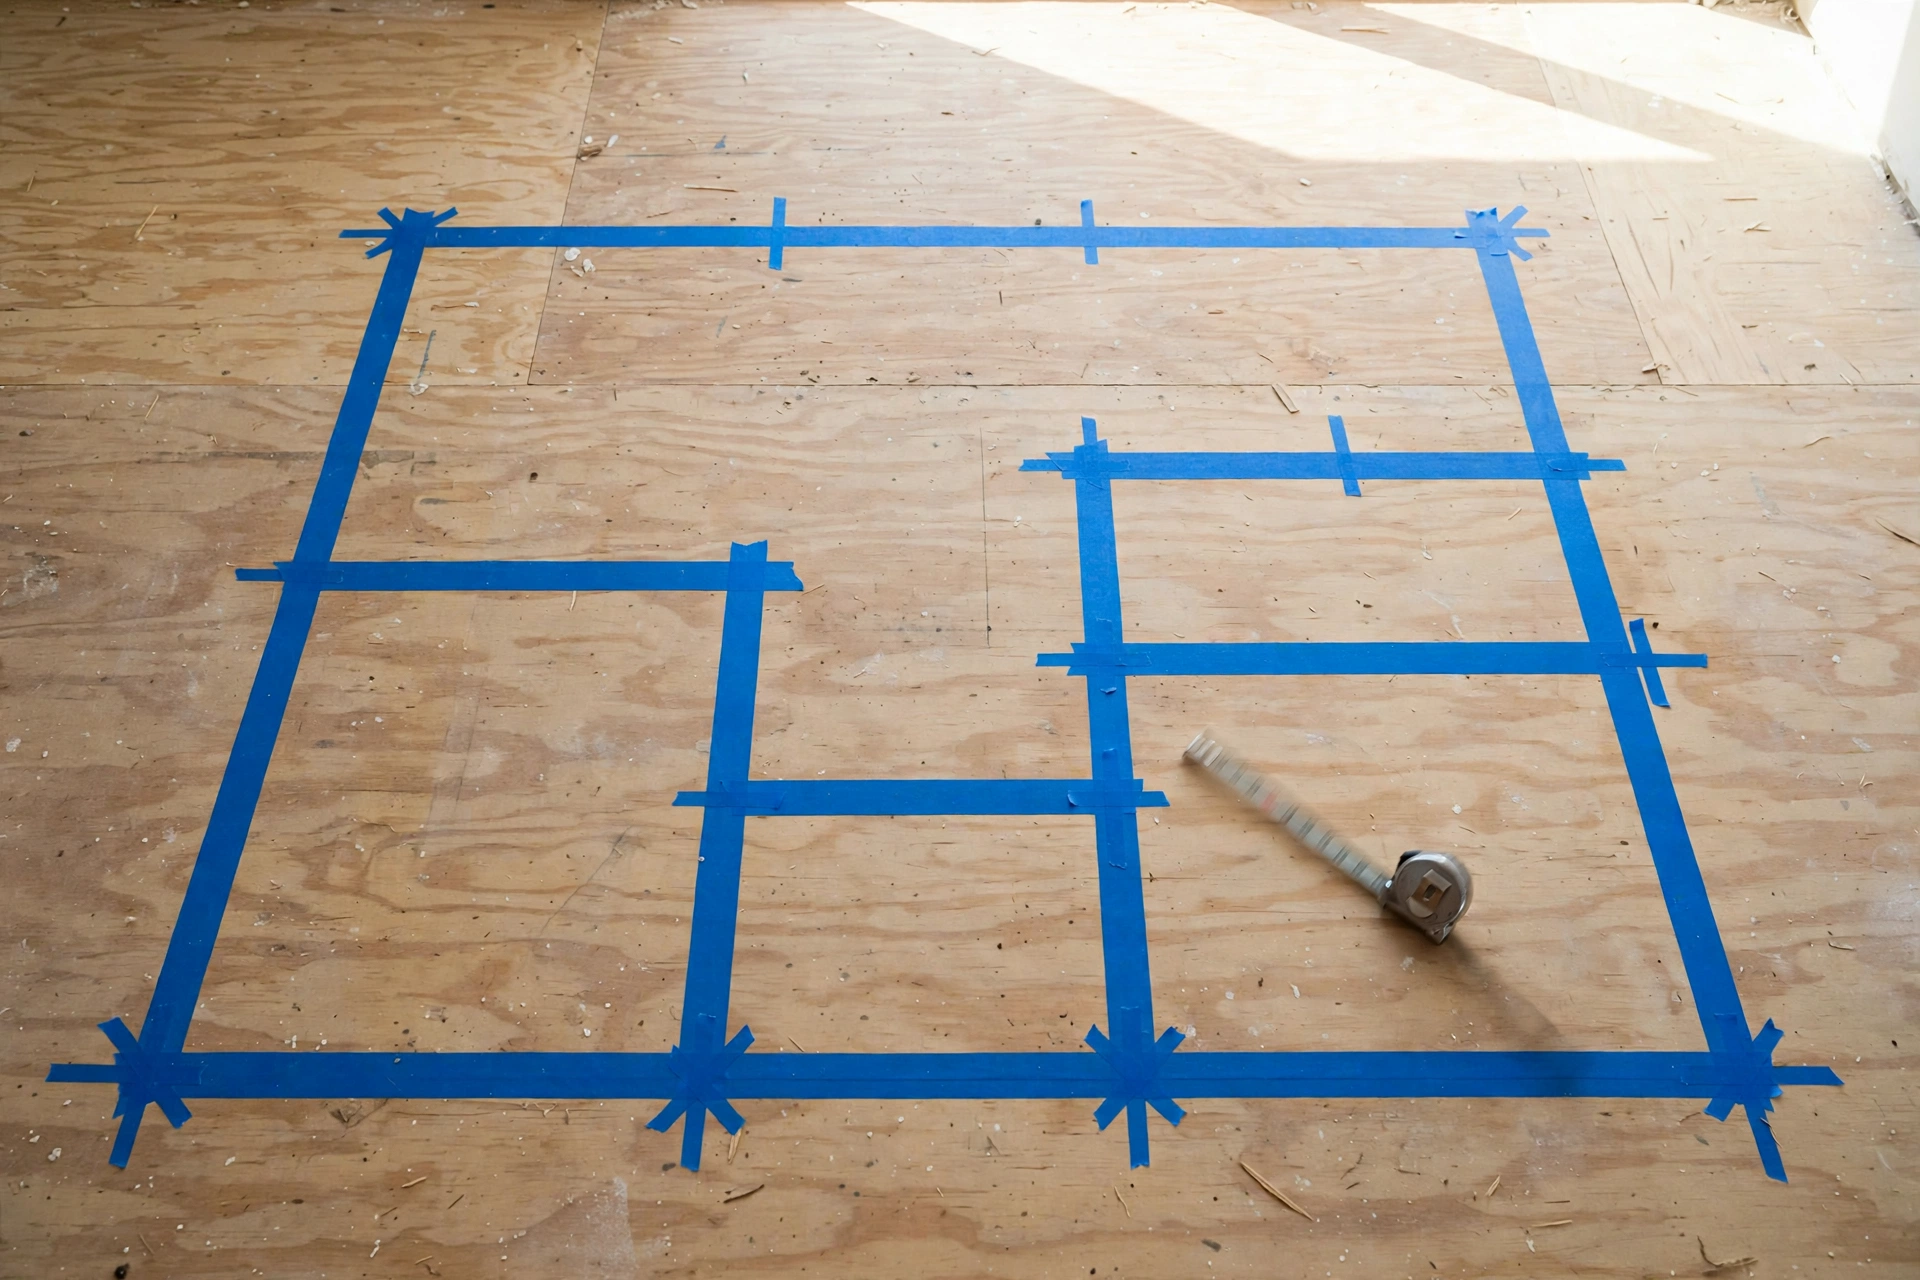
- Draw the room outline at 60 inches wide by 48 inches deep.
- Mark the toilet centreline 15 inches from the left wall.
- Mark the sink centreline 45 inches from the left wall.
- Check centrelines sit 30 inches apart, and 15 inches from each side wall.
- Mark the toilet rough-in 12 inches out from the finished back wall.
- Place a toilet that projects 27 inches from the back wall.
- Subtract 27 from 48, leaving 21 inches clear in front of the toilet.
- Place a sink or vanity that projects 19 inches from the back wall.
- Subtract 19 from 48, leaving 29 inches clear in front of the sink.
- Draw the outward door swing arc outside the room, and check the ceiling height.
Now test this layout on your real floor with tape. Tape the room outline first, at full size. Then tape a cross at each centreline mark. Next, tape the front edge line of each fixture. The clear strips in front should stay empty.
Then stand in those strips yourself. Sit on a box at the toilet position. If your knees hit tape lines, the plan feels too tight. Passing code and feeling fine are different tests.
Finally, redo the maths if any fixture changes. A toilet projecting 30 inches leaves only 18 inches clear here. That single change fails the 21 inch rule. So check the spec sheet before you buy.
Checks Before You Build
Before framing, run one last set of checks. These catch errors inspectors see most often.
- Measure all clearances from finished surfaces, not studs
- Confirm which code and edition your area enforces
- Verify the front clearance figure, 21 or 24 inches
- Match the toilet rough-in to the model you will buy
- Test the full door swing against every fixture
- Plan the fan duct route straight to the outside
- Keep the ceiling at or above 6 feet 8 inches
Also, think about comfort once minimums pass. An extra 3 to 6 inches changes daily use a lot. Give spare inches to the toilet zone first.
One honest note on access is due. These minimums do not make a room wheelchair accessible. Accessible design needs far larger spaces. If access matters, plan higher from the start.
Frequently Asked Questions
What is the absolute smallest half bath allowed by code?
Code sets no single smallest room size for a half bath. Instead, fixture clearances decide the smallest workable footprint for each layout. A narrow plan often lands near 36 by 60 inches, or 15 square feet. A side by side plan usually needs more width. Your local code and fixture depths set the final figure.
How much space must sit in front of the toilet?
Under the IRC and IPC, you need at least 21 inches of clear space. Measure it from the front edge of the bowl to the nearest wall, fixture, or door. Some areas under the UPC require 24 inches instead. Designers often allow 24 to 30 inches for comfort. Always confirm the figure your local inspector enforces before building.
How far must the toilet sit from a side wall?
The toilet centreline must sit at least 15 inches from any side wall, partition, or vanity. That gives the toilet a minimum zone width of 30 inches in total. Measure from the centre of the drain to the finished wall surface. Tile and trim count in that measurement. Aiming for 18 inches per side feels more comfortable in daily use.
Does a half bath need an exhaust fan?
It needs ventilation, but the form can vary by code route. The IRC allows an openable window of at least 3 square feet, with half of it opening. Without that window, you need a fan rated at 50 cfm intermittent or 20 cfm continuous. The fan must exhaust directly outside. Some local codes require a fan in every case.
Can the door swing into a half bath?
It can in some layouts, but it must never hit a fixture. The door also cannot block safe use of the toilet or sink. Many local rules stop a door swinging into required fixture clear space. In a minimum room, an outward or pocket door solves the problem. Test the full swing arc on the floor before framing.
What ceiling height does a half bath need?
The IRC minimum for bathrooms and toilet rooms is 6 feet 8 inches. You measure it from the finished floor to the finished ceiling. That height must hold at the centre of the clear space in front of each fixture. Sloped ceilings need extra care near that zone. Check section R305.1 and your local amendments for the full rule.
Conclusion
A half bath passes on clearances, not on a magic room size. Hold 15 inches at each centreline and 21 inches in front. Then add ceiling height, ventilation, and a safe door swing. Your next step is simple. Tape one layout on the floor and test every number yourself.