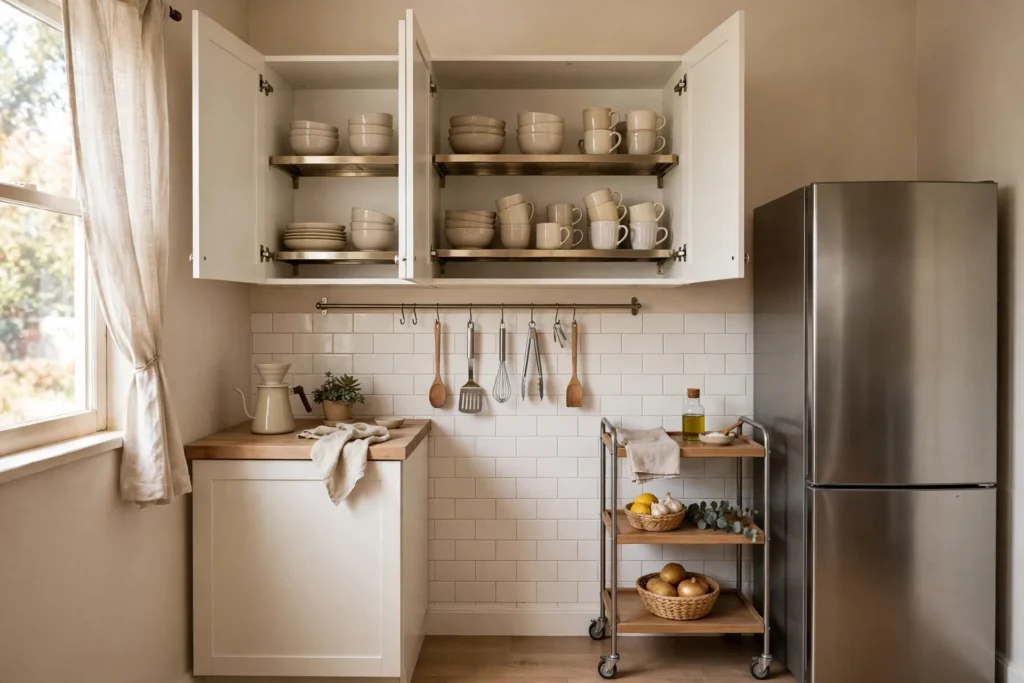

A kitchen wall rack moves utensils, pots, and tools off the counter and onto the wall. It frees prep space, keeps daily tools in sight, and turns storage into decor. In this guide, you will learn which rack types work, where to place them, how much weight they hold, and how renters can hang tools without drilling.
Why Wall Storage Beats Countertop Organizers
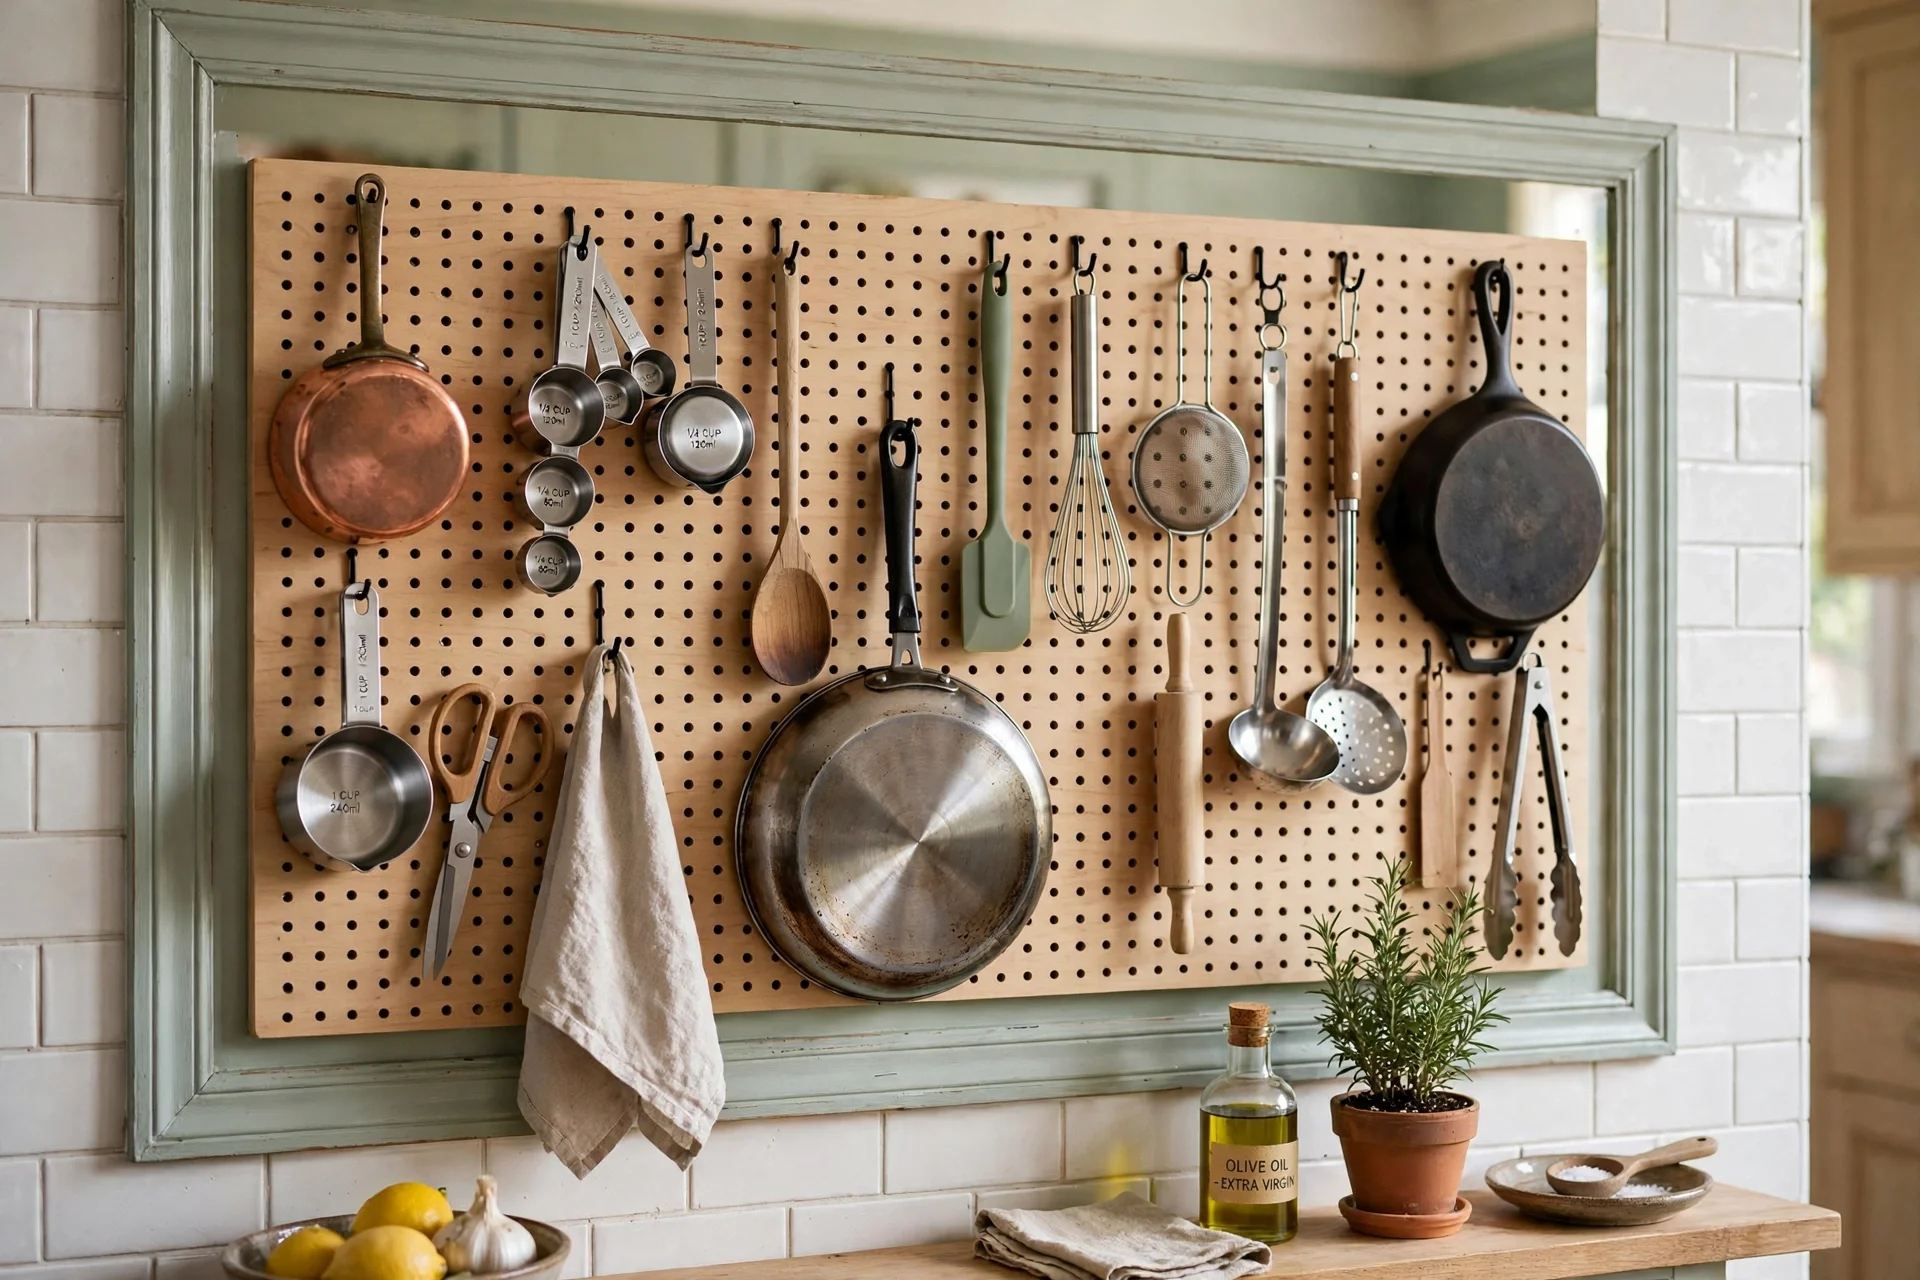
Countertop organizers look tidy, but they still eat prime prep space. A wall rack moves tools off the work surface entirely, so chopping, mixing, and plating gain room. This matters most in small kitchens, where every inch of counter counts. In addition, wall storage keeps tools visible, so you grab the right spatula without digging through a drawer.
Wall racks also replace bulky drawer dividers and countertop caddies. A single rail near the stove can hold the five tools you use daily. That rail frees a whole drawer for linens, wraps, or baking tools. For that reason, many small kitchen owners start with one rail and expand only if they need more.
Finally, wall racks suit any style. A stainless rail looks modern, a wooden pegboard looks warm, and a copper rail looks classic. The rack becomes part of the kitchen decor, not just storage. For a full small kitchen plan, see our guide to small kitchen storage ideas.
Kitchen Wall Rack Types: Rails, Pegboards, and Strips
Metal rails with hooks are the simplest option. A stainless steel rail with S hooks needs only two screws into studs or drywall anchors. Hooks slide along the rail, so you can reposition tools as your cooking changes. Rails suit spatulas, ladles, tongs, whisks, and small pans with hanging holes.
Pegboards offer the most flexibility. You can move pegs and hooks to fit any tool shape, from rolling pins to colanders. However, pegboards need a frame to hold the board off the wall, plus a bit more setup time. Paint the board to match your cabinets or backsplash for a polished look. A pegboard beside the prep zone holds measuring spoons, peelers, and thermometers within reach.
Magnetic strips suit metal tools with a slim profile. They work well for steel tongs, spatulas, and whisks on a narrow wall beside the stove or sink. However, magnets hold only ferromagnetic metals like stainless steel and cast iron. Aluminum, brass, and copper tools will not stick, and wooden or silicone tools need hooks instead. For mixed tool sets, pair a magnetic strip for steel tools with a small rail for the rest.
Pot rails and wall pot racks hold heavier cookware. A wall mounted pot rack can store copper pans, cast iron skillets, and lids in one display. Wall racks are often more practical than ceiling racks, since they keep cookware off the visual center of the room. For pot rack styles from wall mounts to pegboards, see the Better Homes and Gardens pot rack ideas.
Type Comparison
| Type | Best for | Holds | Watch out for |
|---|---|---|---|
| Metal rail with hooks | Daily utensils | Spatulas, ladles, tongs, whisks | Needs studs or anchors for heavy loads |
| Pegboard | Mixed tool shapes | Pans, tools, measuring cups | Needs a frame and setup time |
| Magnetic strip | Steel tools, narrow walls | Steel tongs, whisks, spatulas | Won’t hold aluminum, brass, wood, silicone |
| Wall pot rack | Pots and pans | Copper pans, skillets, lids | Heavy loads need stud mounting |
| Backsplash rail | Stove side tools | Spoons, spatulas, small pans | Keep clear of burners and grease |
Placement Rules That Make Racks Work
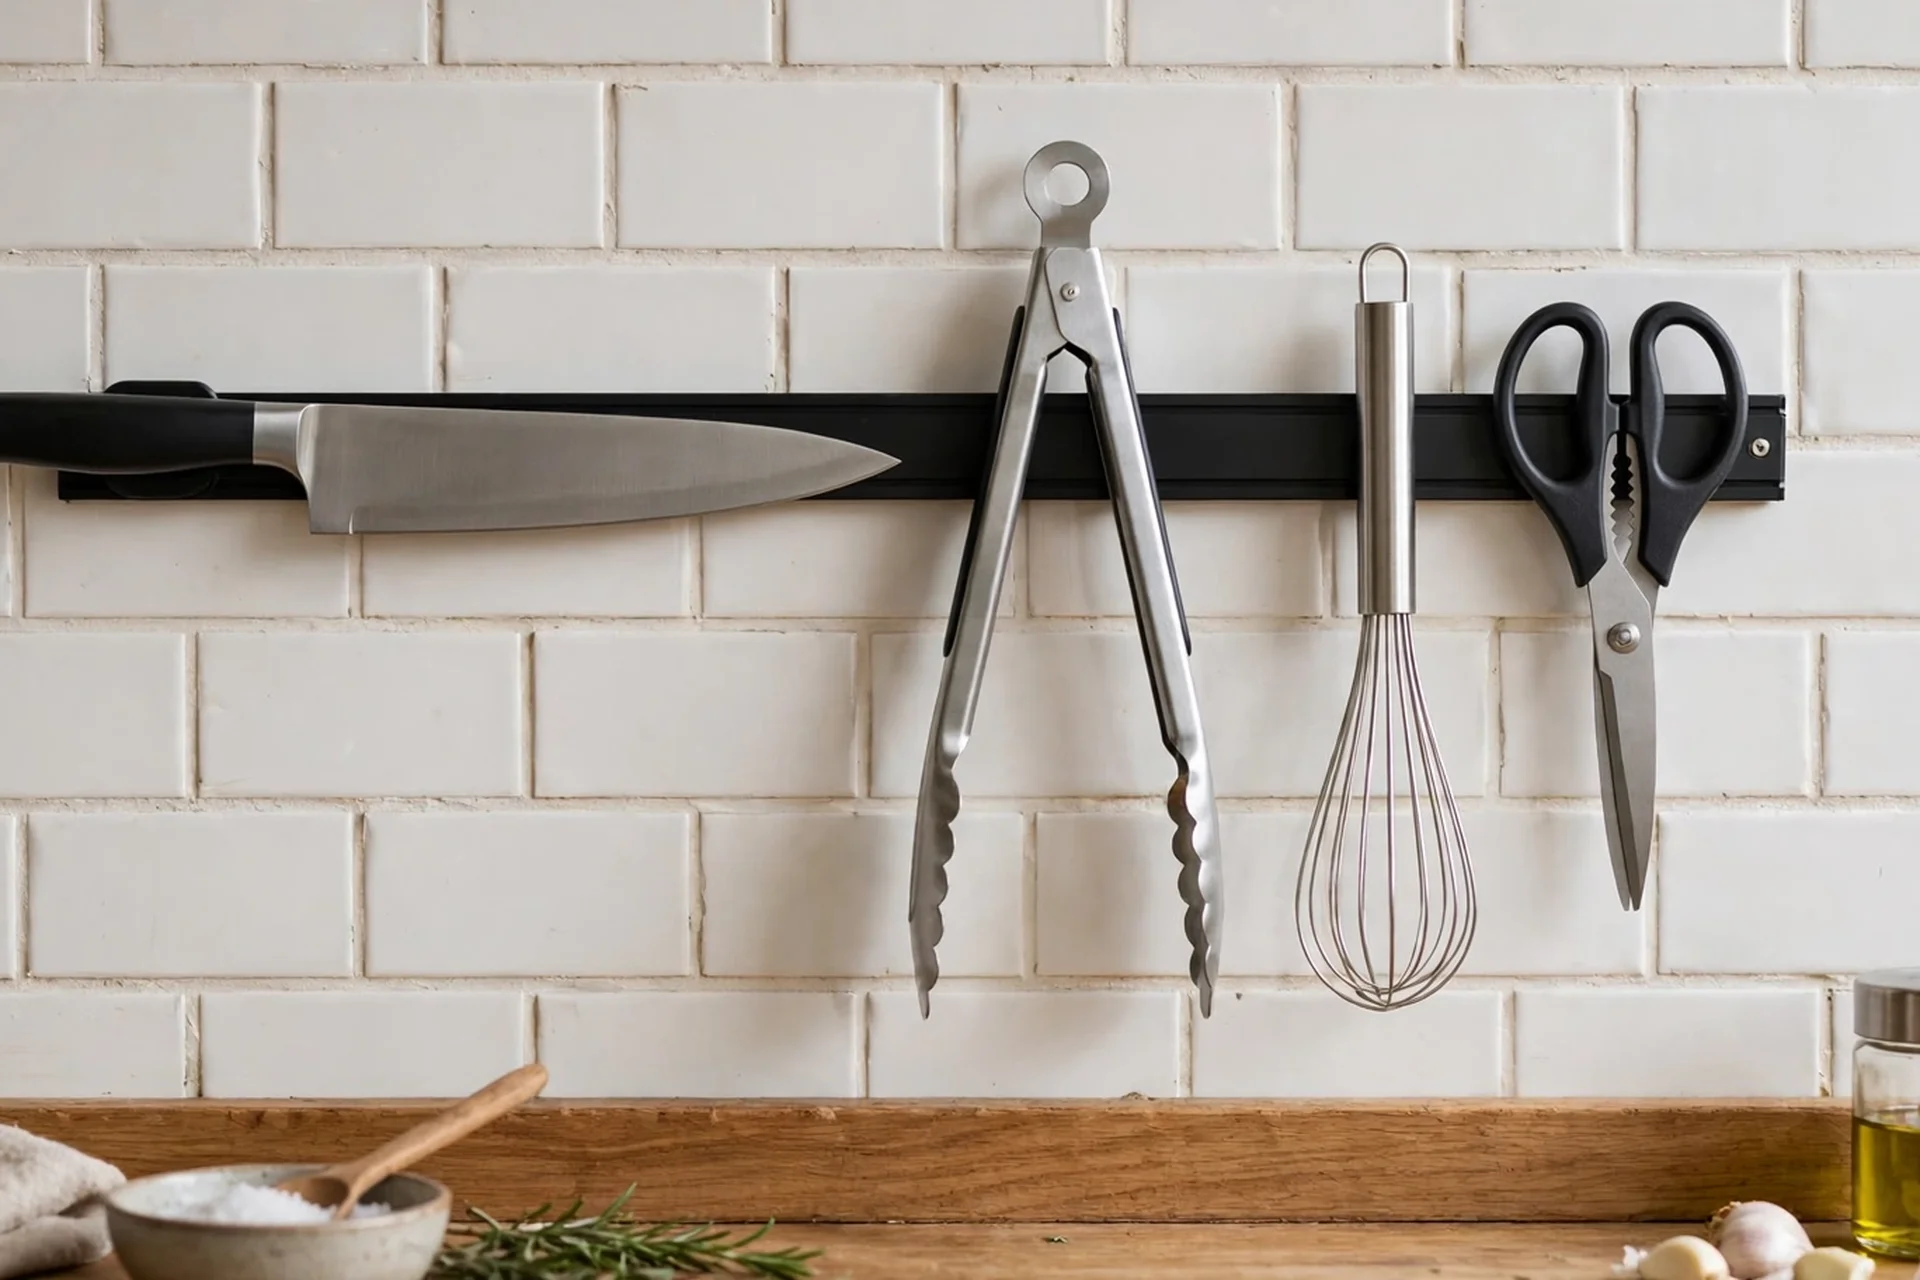
Place tools where you first use them, not where they are easiest to install. Put a rail near the stove for spatulas, tongs, and ladles, since those tools serve cooking. Keep the rail about 12 to 18 inches above the countertop, within easy reach from the stovetop. Avoid mounting directly above a burner, where grease splatter coats handles. Instead, place the rail to the side or on the backsplash.
Near the sink, hang a smaller rack for colanders, measuring cups, and dish brushes. This keeps wet tools off the counter and lets them drip into the sink. For prep areas, a pegboard beside the cutting board holds peelers, thermometers, and measuring spoons, so you never walk to a drawer mid task. The key rule is simple: the tool lives where the task happens.
Think about visual balance as well. A single long rail above the counter looks clean, but a cluster of shorter rails at different heights adds interest. For open shelving, mount a rail under a shelf to hang mugs or utensils, saving shelf space for bowls and jars. Avoid blocking windows, outlets, or ventilation grilles, and leave at least 24 inches of clear walking space in front of the rack.
Height rules keep racks safe and useful. Mount pot racks high enough that you will not bump your head on pans while cooking. Hang smaller pans that push aside easily if headroom is tight. For wall racks near the stove, keep wooden tools at least 18 inches from direct heat and steam, since heat dries and cracks wood handles.
Weight Limits and Safe Mounting
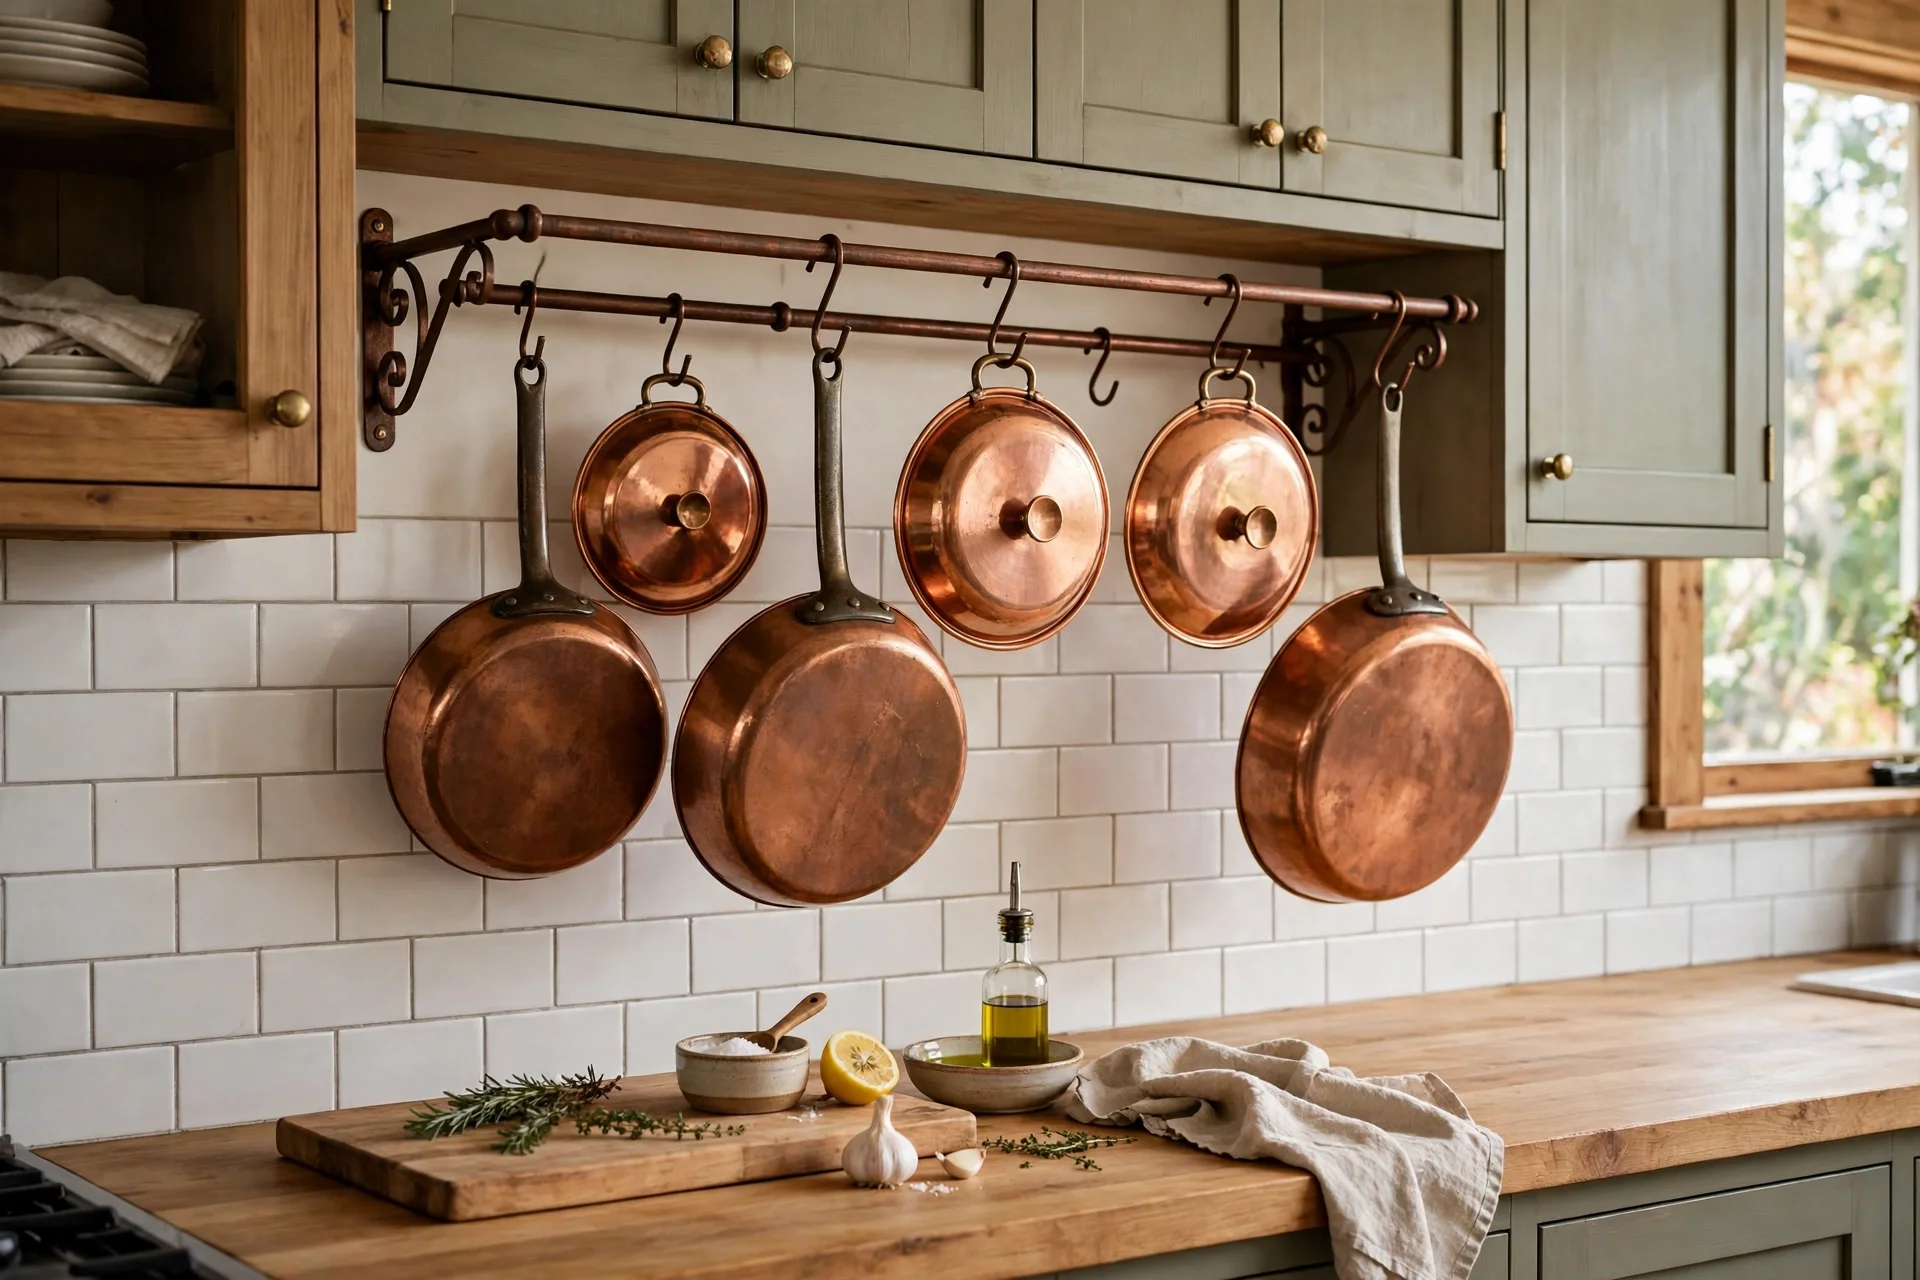
Weight limits decide whether a rack stays up or pulls off the wall. A rail screwed into wall studs can typically hold 20 to 30 pounds. Drywall anchors support about 10 to 15 pounds if the rack is not too long. Magnetic strips vary by model, usually holding 10 to 20 pounds. Always check the maker rating, and spread weight evenly along the rail.
For heavy cookware, stud mounting is the safe choice. Heavy pots and pans need strong support, and drywall alone may not hold their weight. Find studs with a stud finder, and mark them before drilling. If you cannot hit a stud, use heavy duty toggle anchors rated for the full load, not just the rack weight. For full mounting detail, read the A Grateful Kitchen guide to wall mounted tool racks.
Distribute weight with care. Place heavy pans near the mounting screws, not at the far ends of a long rail. Use large hooks for heavy pans and small hooks for measuring spoons. Check the rail monthly by tugging it gently. If it moves or creaks, unload it and refit the anchors before it fails.
For renters, removable adhesive hooks or strips rated for kitchen tile hold moderate weight and come off without holes. Test a small area first to ensure they do not damage the finish. For heavy tools, a stud mounted rail is safer, so ask your landlord before drilling. A tension rod inside a cabinet door also hangs measuring spoons and small tools with no holes at all.
What to Hang and What to Store
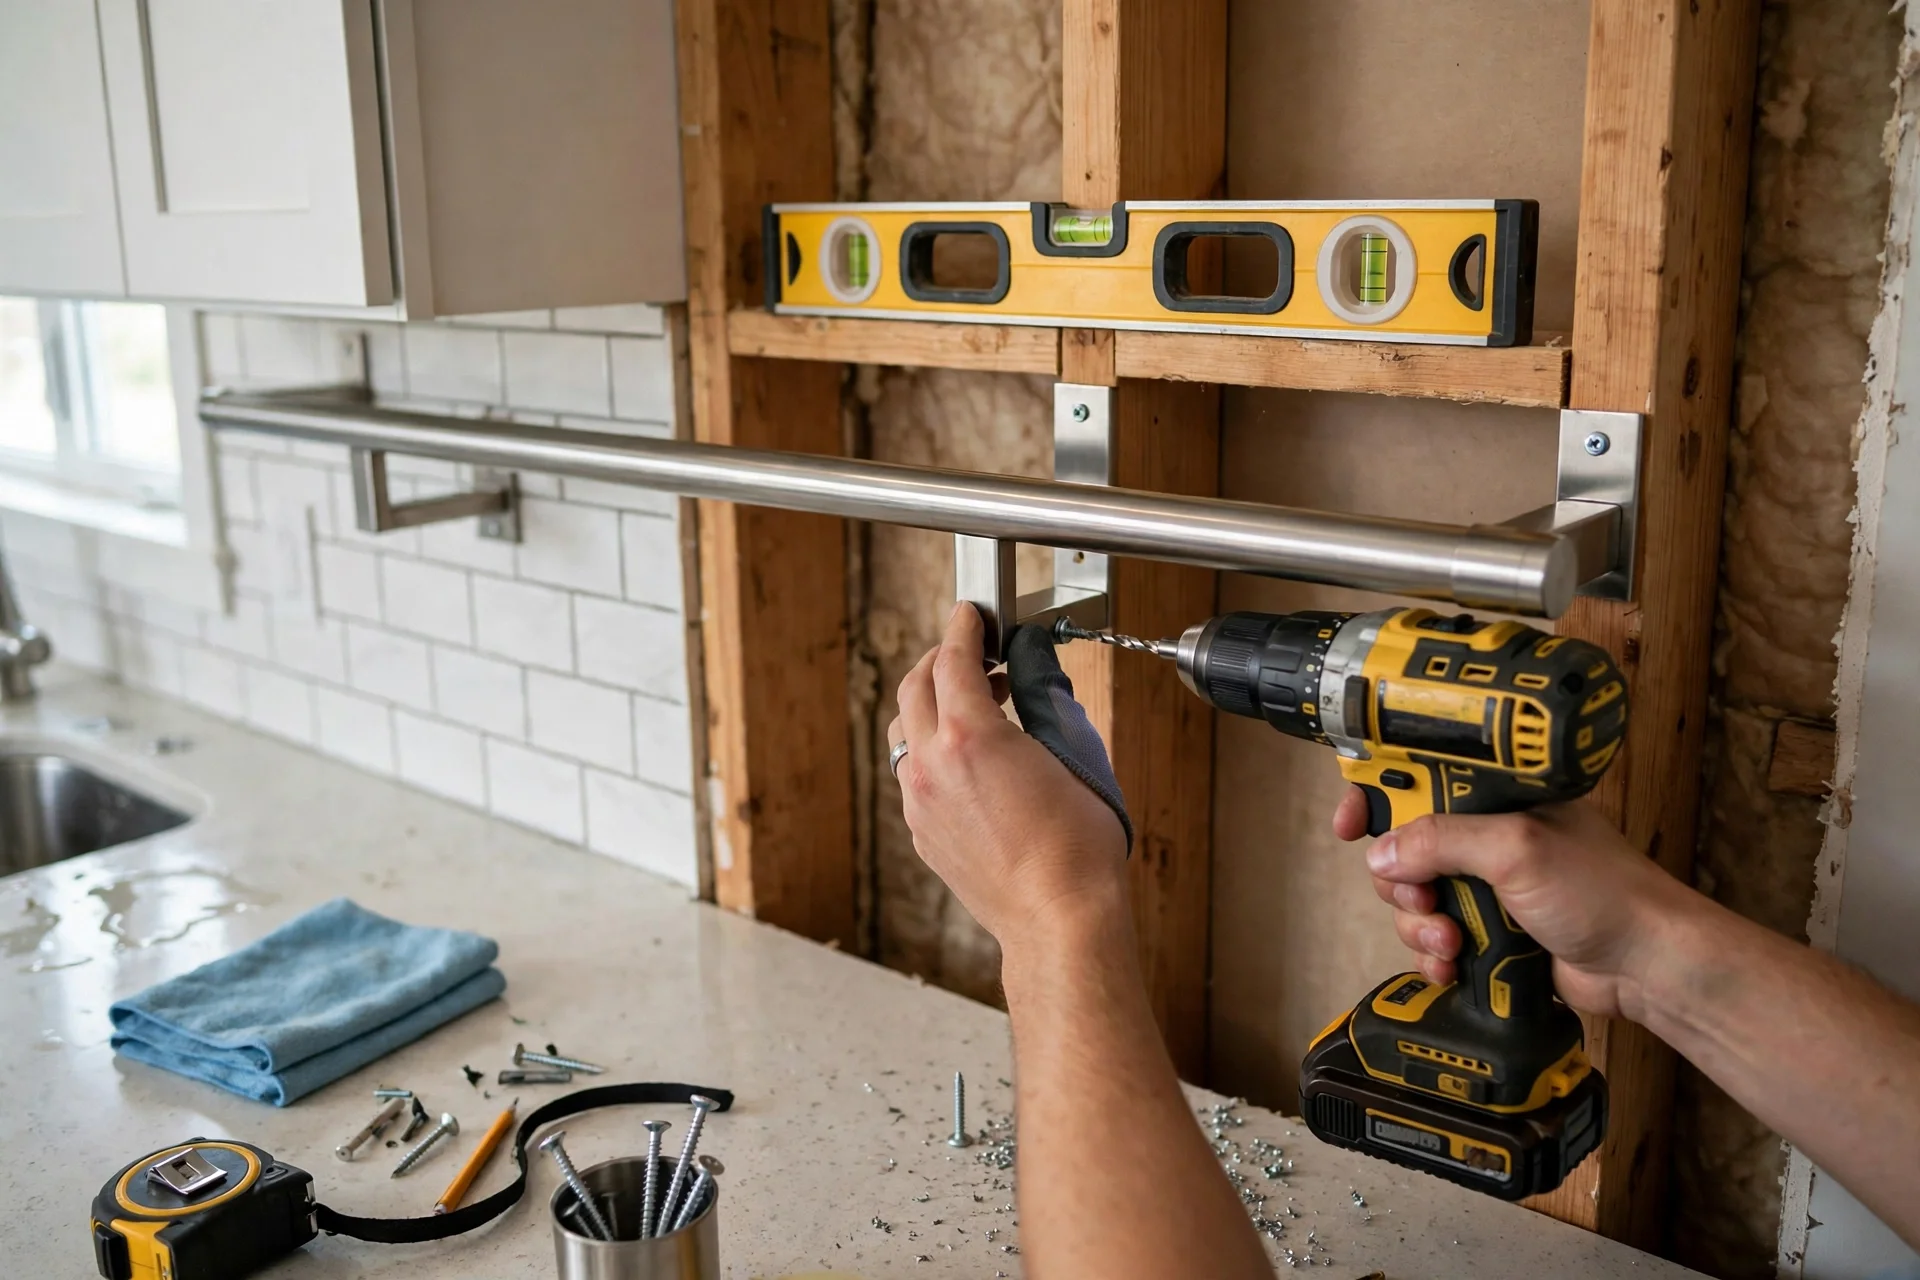
Reserve the rack for items you use at least once a week. Spatulas, slotted spoons, whisks, tongs, and ladles earn wall space. Store rarely used tools, such as pastry brushes or citrus zesters, in drawers to keep the wall calm. This rule stops the rack from becoming a catch all that is hard to clean and noisy to look at.
Group tools by function. Place baking tools near the baking station, and cooking tools near the stove. Use different hook sizes: large hooks for heavy pans or colanders, small hooks for measuring spoons. For tools with holes, like slotted spoons, use hooks that let them hang straight. For solid handled tools, use clips or rings so they do not slide off.
Review the rack monthly and remove tools you have not used in a season. This quick review keeps the arrangement useful and tidy. If a tool has not moved in months, it belongs in a drawer, not on the wall. In addition, wipe hooks and rails monthly, since kitchen grease builds up fast near the stove.
For renters who cannot drill at all, a countertop shelf can do similar vertical work without holes. Our guide to no drill kitchen organisation covers magnetic, hanging, and over sink options that leave no marks. Pair a small adhesive rail with a counter riser, and you gain wall storage without a single screw.
Styling a Rack So It Looks Good
Start with matching finishes. A stainless rail with stainless hooks looks calm, while mixed metals look busy. If your pans are copper, use copper hooks and a copper rail for a cohesive display. Reserve the rack for tools with matching finishes when you want a polished look, and store mismatched tools in drawers.
Leave space between tools. A rack packed edge to edge looks like a shop wall, not a home kitchen. Leave one hook gap between large pans, and group small tools in pairs. This breathing room makes each tool easy to grab and easy to return after washing.
Add one decorative touch, such as a small hanging herb pot or a wooden spoon set, to soften the metal. However, keep decor small, since the rack must stay useful first. A tiny plant or a single copper ladle adds warmth without eating tool space. Step back often while arranging, and check the balance from across the room.
For a DIY look on a budget, a wooden dowel or curtain rod on pipe flanges works as a rail. Add S hooks from a hardware store, and you have a custom rack for little cost. Paint the dowel to match your cabinets for a finished look. A repurposed wire shelf grid on a board also holds tools well with minimal drilling.
A Worked Example: The Stove Side Rail
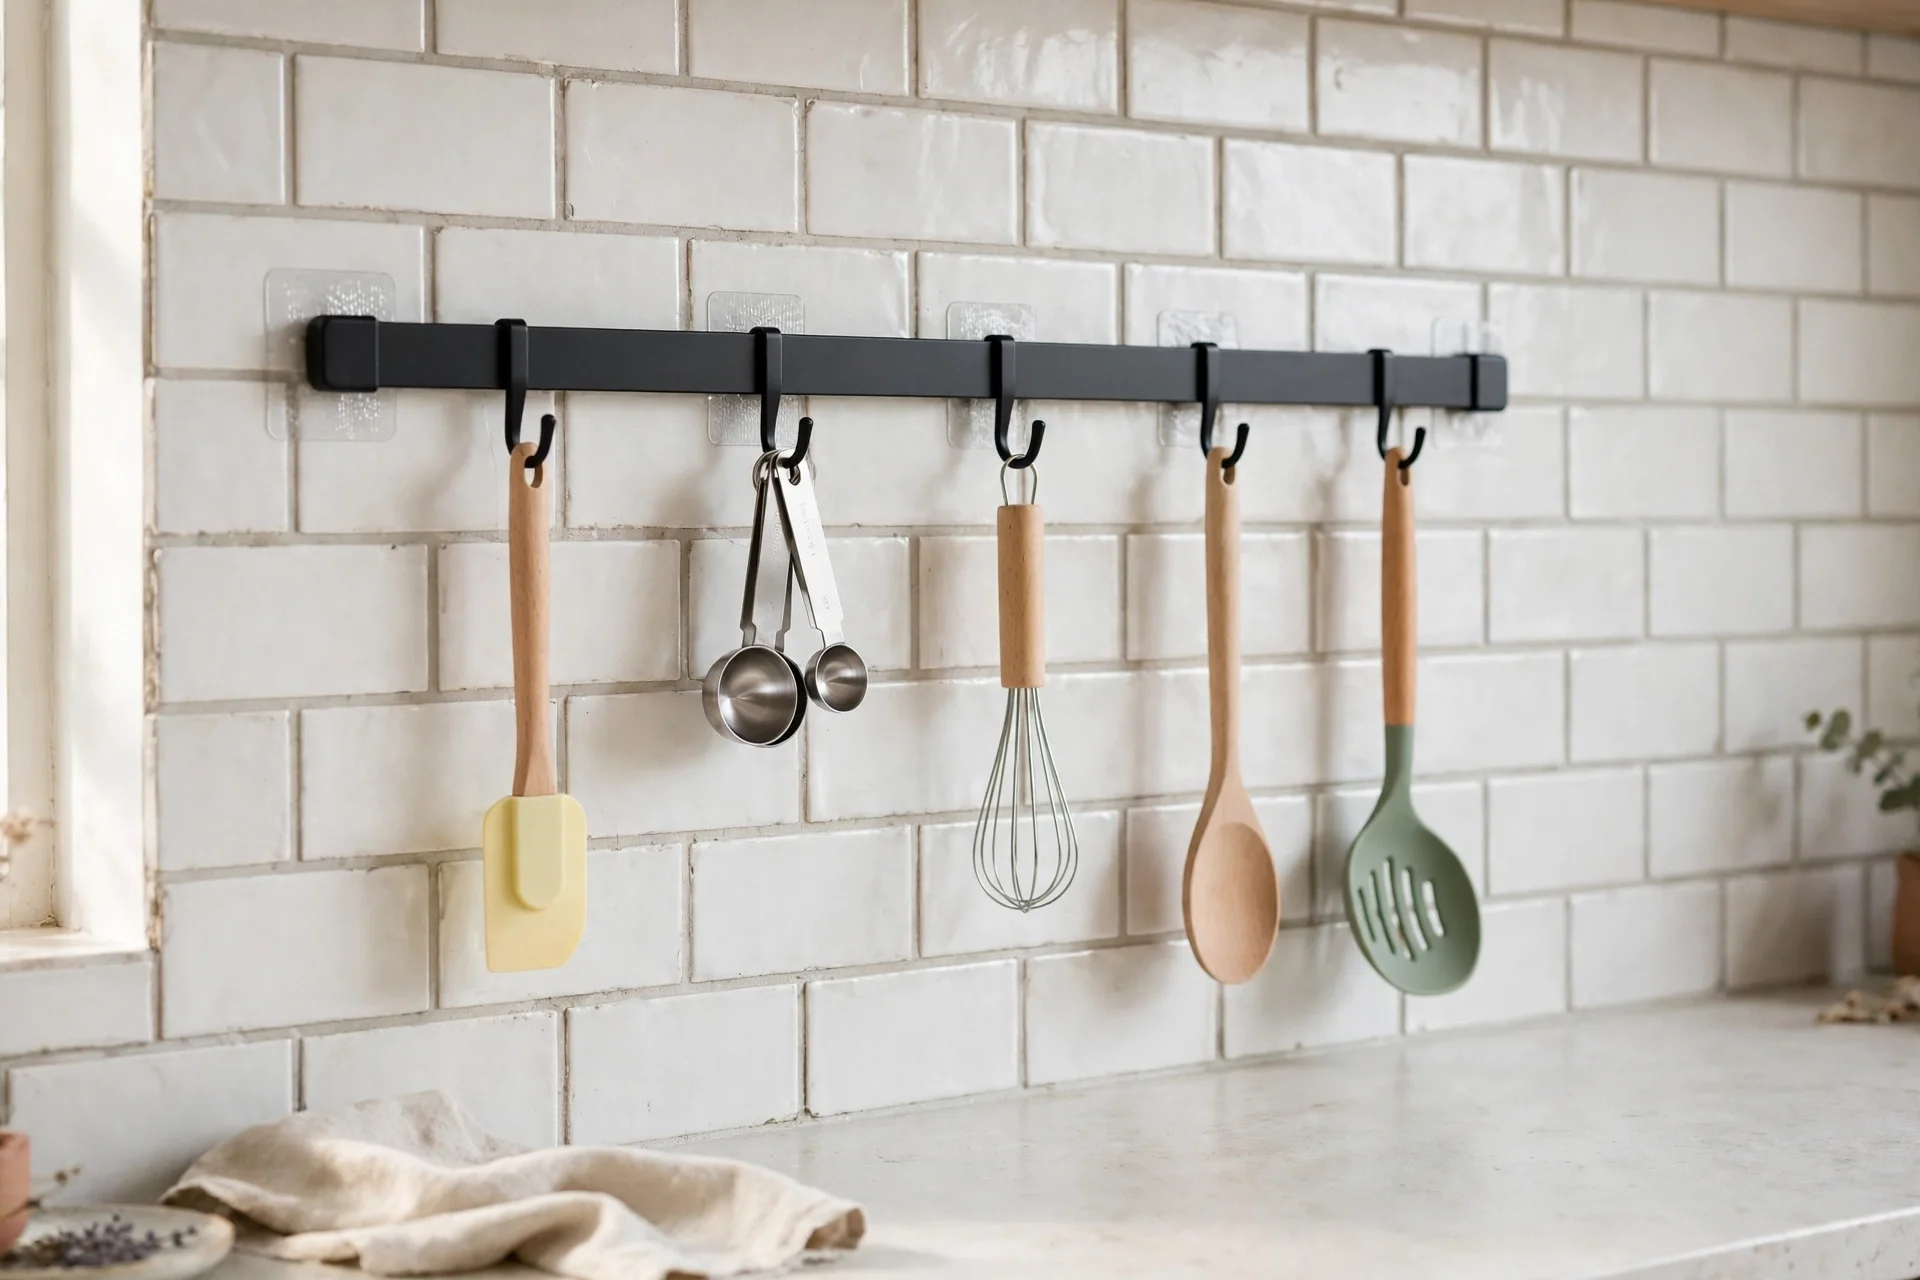
Take a common small kitchen problem: a drawer crammed with spatulas, tongs, and ladles, plus a counter crowded with a utensil crock. Start by listing the five tools you use daily. For most cooks, that list is a spatula, a slotted spoon, tongs, a ladle, and a whisk.
Mount a 24 inch stainless rail on the backsplash beside the stove, about 15 inches above the counter. Screw it into two studs, or use heavy duty anchors if no stud lines up. Hang the five tools on S hooks, with the heaviest near the screws. Move the utensil crock off the counter and into a cabinet, since the rail now holds its contents.
Now test the setup by cooking one full meal. Reach for each tool, use it, and return it to the rail. If a tool feels too high or too far, move its hook before the habit sets. This one meal test shows whether the rail truly serves your cooking flow. Most cooks find the rail saves steps from the first dinner, and the freed drawer soon holds linens or wraps instead.
Frequently Asked Questions
How much weight can a wall rail hold?
A rail screwed into wall studs can typically hold 20 to 30 pounds, while drywall anchors support about 10 to 15 pounds. Magnetic strips usually hold 10 to 20 pounds depending on the model. Always check the maker rating, and place heavy pans near the mounting screws.
Can I install a rack on tile without drilling?
Yes, for lightweight tools, use adhesive hooks or strips made for tile, but they may not hold heavy items. For a stronger hold, drill into grout lines rather than the tile itself, since grout is easier to repair. Use a diamond tipped bit for porcelain or ceramic tile with anchors for extra support.
What tools should I hang on a wall rack?
Hang tools you use at least once a week, such as spatulas, slotted spoons, whisks, tongs, and ladles. Store rarely used tools in drawers to keep the wall calm. Group tools by function, with cooking tools near the stove and baking tools near the baking station.
Are magnetic strips safe for all metal utensils?
No, magnetic strips hold only ferromagnetic metals like stainless steel and cast iron. Aluminum, brass, and copper utensils will not stick. Tools with heavy plastic or wooden handles may also slip, so pair a magnetic strip with a small rail for mixed materials.
Where should I place a rack near the stove?
Place a rail about 12 to 18 inches above the countertop beside the stove, not directly above a burner. This keeps tools within reach while avoiding grease splatter on handles. Keep wooden tools at least 18 inches from direct heat and steam to stop drying and cracking.
How do I keep a wall rack from looking cluttered?
Leave space between tools, match finishes, and review the rack monthly. Remove any tool you have not used in a season, since it belongs in a drawer. Add one small decorative touch, like a hanging herb pot, but keep the rack useful first and decorative second.
Conclusion
In short, a kitchen wall rack frees your counters, shortens your cooking steps, and adds style to bare walls. Pick a type that matches your tools, mount it into studs for heavy loads, and place it where the task happens. Start with one rail beside the stove this week, and feel the difference from the first meal.